In this article
- 1How to Use This Checklist
- 2Group 1: Check the Product
- 3Group 2: Check the Box
- 4Group 3: Choose the Insert Type and Material
- 5Group 4: Check Print and Finish
- 6Group 5: Check Assembly and Packing
- 7Group 6: Test Before You Commit
- 8Group 7: Check Shipping and Storage
- 9Group 8: Check the Order and the Reorder
- 10Example: The Checklist Filled In
- 11The One-Page Summary
- 12Red Flags: Stop and Ask
- 13Ready to Order?
Before you order custom packaging inserts, work through eight groups of checks: your product, your box, the insert type and material, print and finish, assembly, testing, shipping and storage, and the order itself. Each check takes a few minutes, and together they catch most of the mistakes that lead to an insert that does not fit, breaks the product or slows your packing.
This is a working checklist, so it keeps explanations short. If a term or a choice is new to you, our complete guide to packaging inserts explains the types, materials and costs in full. Read it first if you have never ordered an insert, or keep it open beside this page. A one-page summary table at the end is made to copy or print.
Key takeaways
- Measure and weigh before you design. Every other choice depends on the product's size, weight and fragility.
- Work from the box's inside size. The insert must fit the inside dimensions, so confirm them first.
- Decide who packs and how fast. An insert is only good if the person packing it can load it quickly.
- Test with a sample. A drop test and a shake test show problems that measurements cannot.
- Write it all down. A completed checklist is the best brief you can send for a quote.
How to Use This Checklist
Go through the groups in order, because later groups depend on earlier answers. Write the answer next to each check. If you cannot answer one, mark it "ask us" and move on. We can help with design and recommend materials, and design support is free.
Plan about 30 to 45 minutes for a first pass, plus the time to measure and weigh your products. If you ship several products, run the checklist once for each, then look for products that can share an insert. Having the products, the box and a ruler or calipers on the table makes it much quicker.
Group 1: Check the Product
The product decides everything else, so start here. Do not rely on a spec sheet, because supplier figures are often rounded or out of date.
- Measure it packed. Measure length, width and height at the widest points, with the cap, label, wrap or tag you will ship it in. Use millimeters for small items. Our guide to measuring the dimensions of a box correctly shows the standard order.
- Measure three units. Products vary from piece to piece. Write down the largest figure for each dimension.
- Weigh it. Weigh the product packed. Light, medium and heavy products need different board, and weight changes the choice more than size does.
- Rate the fragility. Say whether it is sturdy, breakable (glass, ceramic), easy to scratch or easy to crush. Write it down in one line.
- Note odd shapes and parts. Handles, spouts, pumps, labels that peel and soft or leaking contents all affect the hold.
Group 2: Check the Box
An insert has to fit the box as well as the product. Confirm these before you design a cut-out.
- Get the inside dimensions. The insert is sized to the inside of the box, not the outside. If you do not know them, measure an existing box from the inside, or ask for the figure from your box supplier.
- Know the box style. A tuck box, a mailer box and a rigid box open and close differently, and that changes how the insert goes in. See our tuck boxes and mailer boxes.
- Check the board thickness. Thick walls reduce the inside space. Corrugated and rigid boxes lose the most.
- Allow for the lid. Check there is room above the product for the lid, flap or tissue paper, so the closure does not press on the product.
Group 3: Choose the Insert Type and Material
Now pick the structure and the board. Use the product's weight and fragility to decide, and our inserts guide to compare the types.
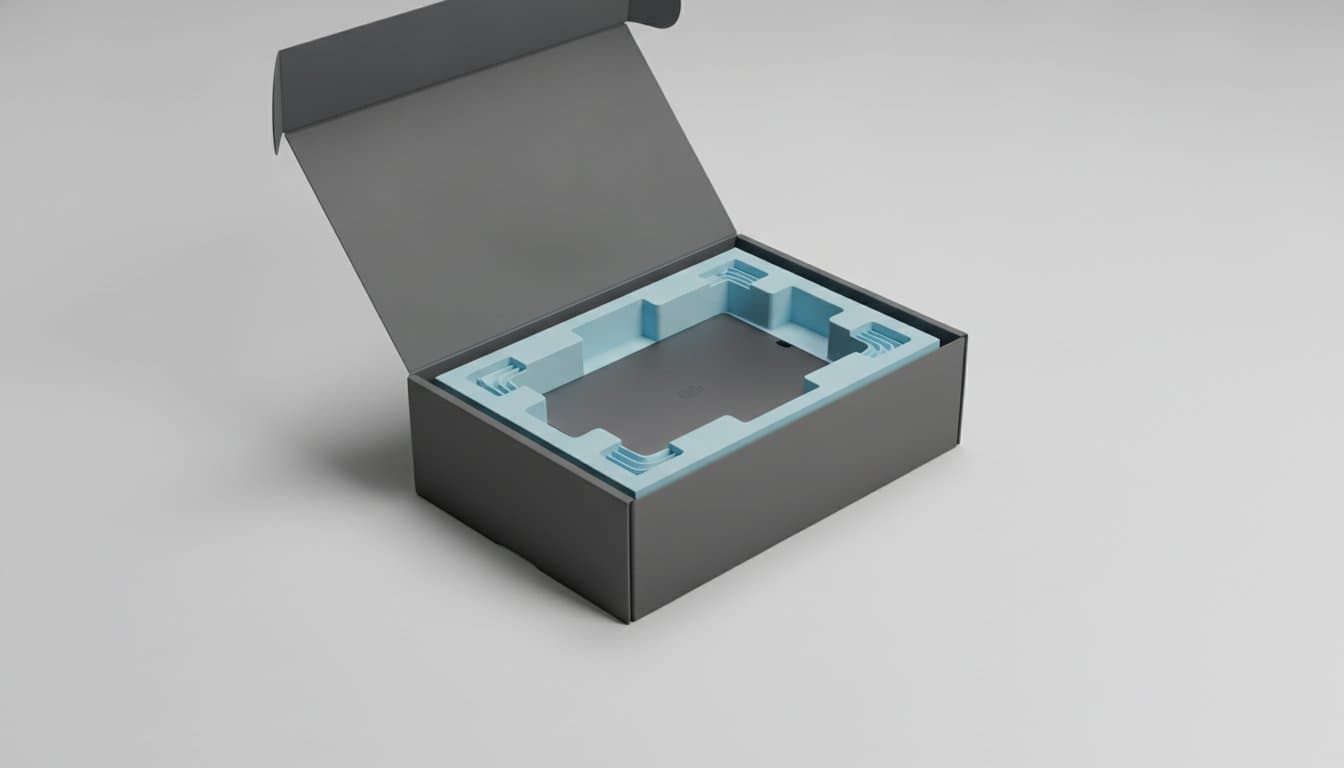
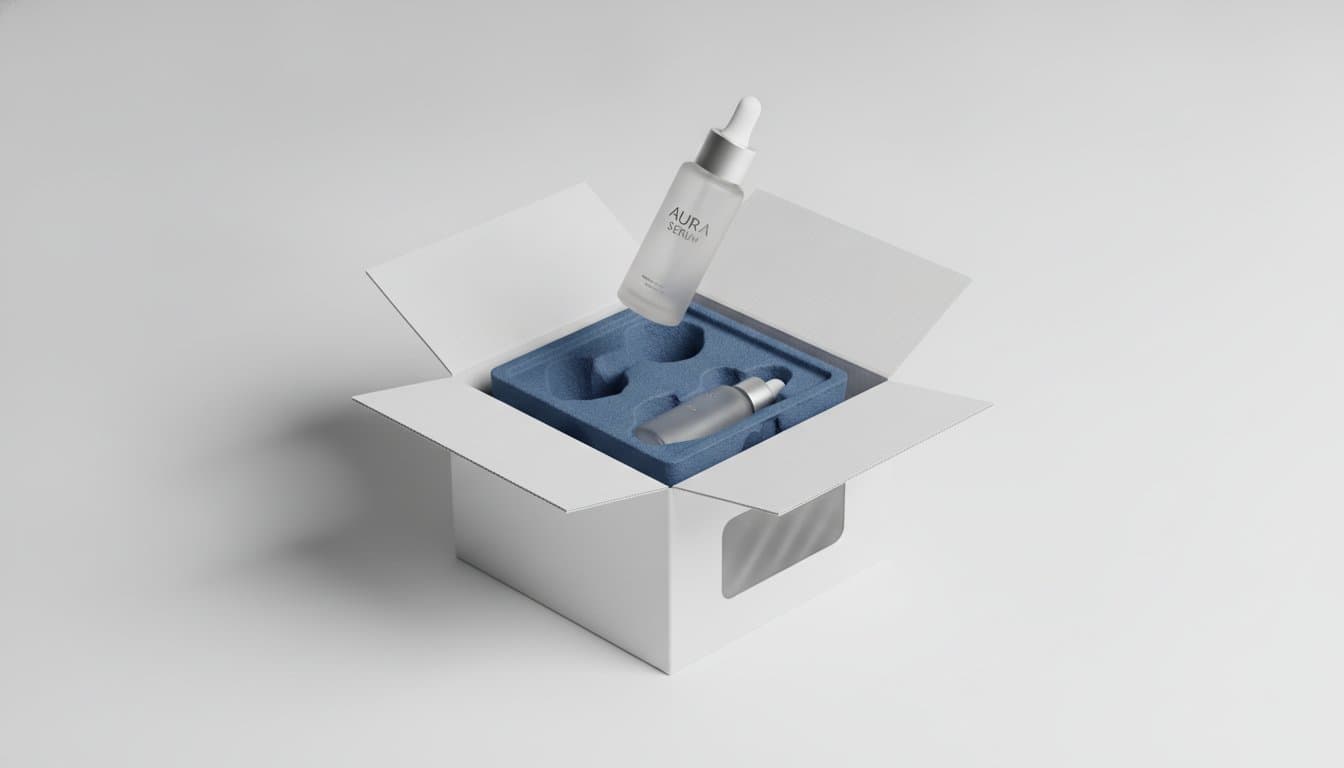
- Pick the type. Insert with backing or without, divider grid, molded pulp, foam or a plastic tray. A divider grid suits items of similar size, and a cut-out insert suits one shaped product.
- Pick the board. Paperboard of 300 to 400gsm for light products, E-flute corrugated (about 1.2 to 2 mm) for most shipped products and B-flute (about 2.5 to 3 mm) for heavy ones.
- Pick the color. White board prints best. Brown kraft has a natural look and prints black or white only.
- Consider recycling. Plain paper-based inserts are generally the easiest to recycle. Mixed materials make it harder, and recycled stock options are available on request.
- Count the items. If several products share one box, give each a position and leave room for a card or tissue.
Group 4: Check Print and Finish
Many inserts need no print, but if the insert shows, decide how it should look.
- Decide if it shows. Print only the parts the customer sees, such as under a clear window, on a raised platform or on a backing.
- Choose the color system. CMYK for full-color artwork, Pantone for an exact brand color. See color systems in packaging.
- Choose coating and finish. Varnish or lamination, in matte, glossy, satin or soft touch. Read varnish vs lamination if you are unsure.
- Prepare artwork properly. Use the dieline, add bleed to printed edges and keep text away from folds. Our guide to bleed in packaging explains why.
Group 5: Check Assembly and Packing
The insert has to work for the person who packs it, not only for the product.
- Count the steps. How many folds, tabs and pieces are there? Fewer steps mean faster packing.
- Time one. Ask the packer to assemble and load a sample and note how long it takes, then multiply by your monthly volume. A few seconds adds up quickly.
- Check the hand fit. Can the product go in and come out without force or damage to the print? Is there a finger space?
- Plan the storage. Inserts usually arrive flat. Check you have shelf space, and that they stay dry and uncrushed.
Group 6: Test Before You Commit
Testing is the step people skip, and it is the one that finds most problems. A structural sample is an unprinted prototype that shows size and form, so it costs less than a printed run, and the Samples page lists each sample type.
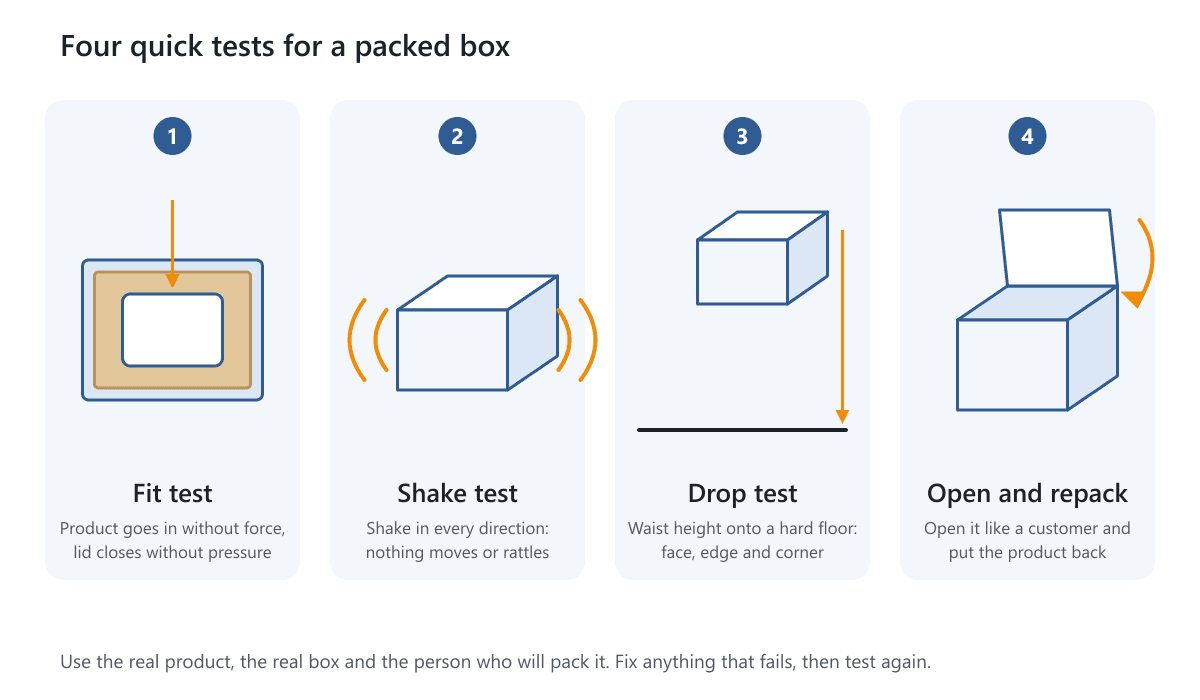
- Fit test. Load the real product into the insert and the insert into the box. Check the product goes in without force and the lid closes without pressure.
- Shake test. Close the box and shake it in every direction. If the product moves or rattles, the hold is too loose.
- Drop test. Drop the packed box from about waist height onto a hard floor, on a flat face, an edge and a corner, then open it. Carriers and testing bodies publish formal procedures, such as those from ISTA, if you need a recognized standard.
- Open-and-repack test. Open it as a customer would and put the product back. A good insert still works, and the print is not scuffed.
- Pack for real. Pack ten units with the person who will do the work. Anything that annoys them will annoy them 500 more times.
Group 7: Check Shipping and Storage
- Check the final package size. Measure the packed box from the outside, because carriers charge by weight and size. Our packaging cost guide explains how size changes cost.
- Check the outer box. For shipping, the insert is only half the protection. Pair it with a box that suits the journey, as set out in choosing the right box for your product.
- Check conditions. Humidity softens paper and cardboard, and heat or cold can affect some products. Say if the product travels far or stays in a warehouse.
Group 8: Check the Order and the Reorder
- Quantity and minimum. Most inserts start at 100 units. Order enough to cover your first period and one reorder.
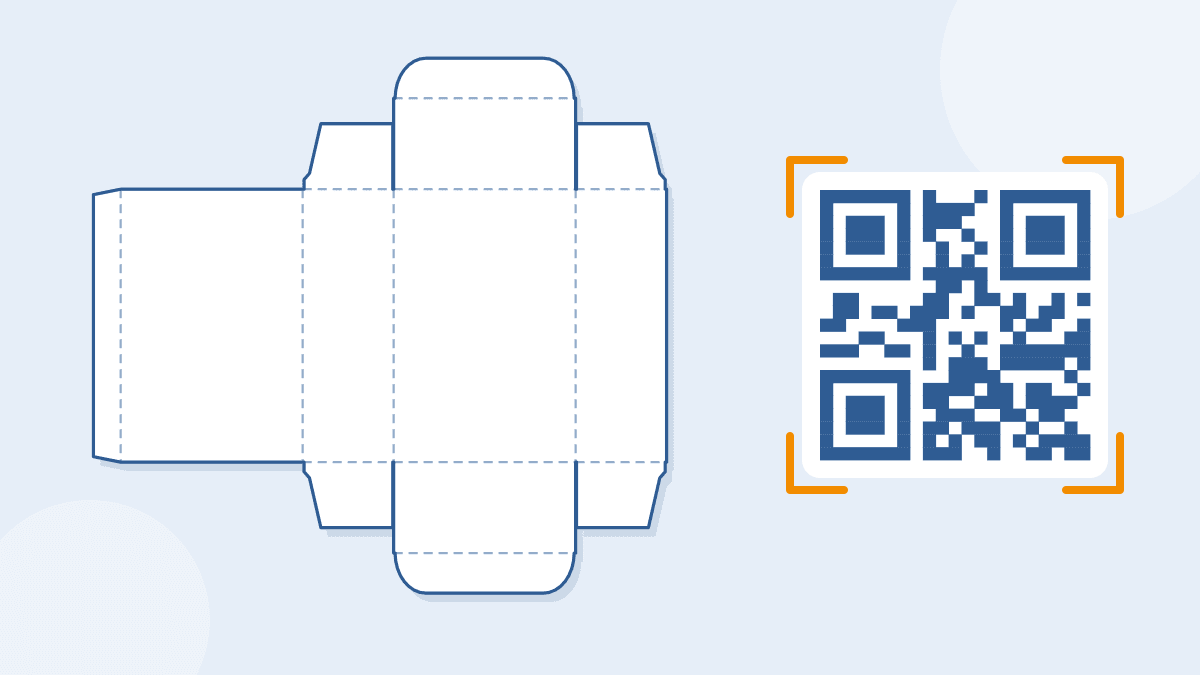
- Artwork files. Download the dieline for your style, check the sizes and send your files. The free dieline templates are in PDF, SVG and DXF, at real size.
- Timing. Production takes 5 to 7 working days after artwork is approved and payment is received. Larger or more complex orders can take longer, and we confirm the date in your quote. Delivery time is added on top.
- Keep the specs. Save the final size, board and artwork with the date, so a reorder matches the first order.
Example: The Checklist Filled In
Here is how the answers might look for an imaginary small brand that sells an 8 oz candle in a glass jar and ships about 200 a month. It is an example, not a real customer.
- Product: jar 3 x 3 x 3.5 inches (76 x 76 x 89 mm) with lid, about 1 pound, breakable glass.
- Box: a mailer box with an inside size of 3.5 x 3.5 x 4 inches, closed by a lid that tucks in.
- Insert: corrugated E-flute, with a base cavity for the jar, in brown kraft with no print.
- Print: none on the insert, because it is hidden once the jar is in, so there is nothing to color-match.
- Assembly: one folded piece, about 10 seconds to fold and place. At 200 boxes a month, that is about 33 minutes.
- Testing: fit, shake and drop from waist height on a face, an edge and a corner. The first sample rattled slightly, so the cavity was made 1 mm smaller.
- Shipping: the packed box is measured and the carrier's size rules are checked.
- Order: a first order of 500, which covers two and a half months, with the specs saved for the reorder.
The useful part is the testing line. The first sample failed the shake test, and finding that out at the sample stage cost almost nothing, whereas finding it out after 500 boxes had shipped would have cost a lot more.
The One-Page Summary
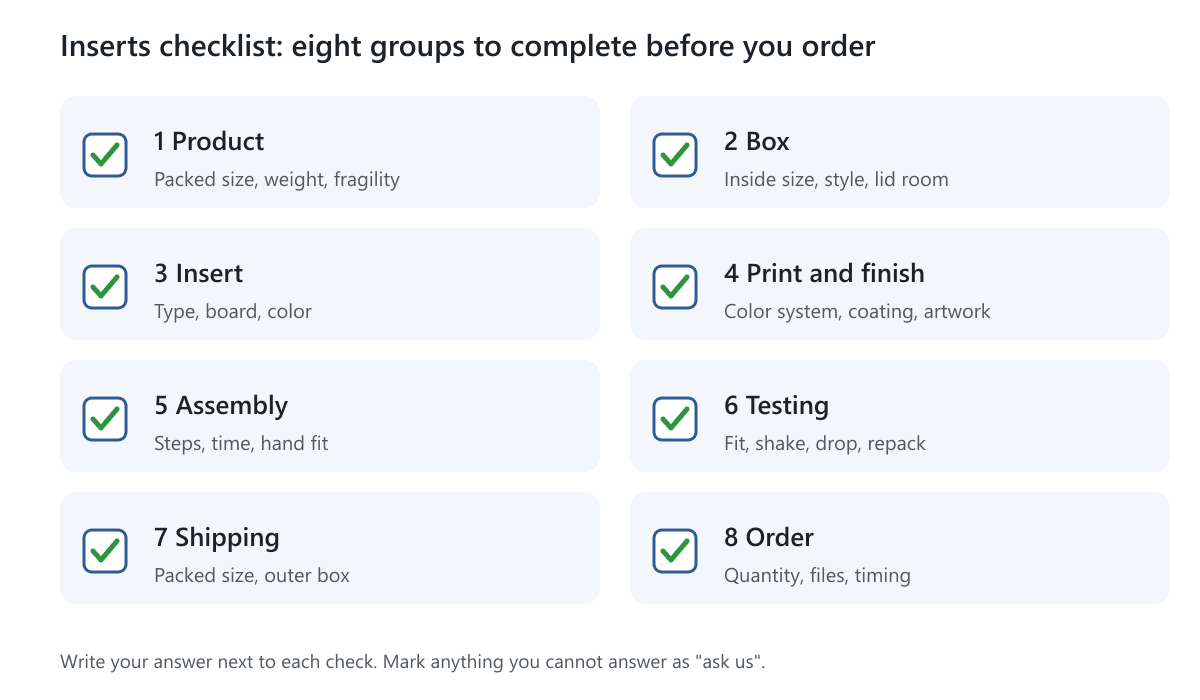
Copy this table, or print the page, and fill in the right-hand column as you go.
| Group | What to check | Write down |
|---|---|---|
| 1 Product | Packed size, weight, fragility, odd parts | L x W x H, weight, notes |
| 2 Box | Inside size, style, board thickness, lid room | Inside L x W x H |
| 3 Insert | Type, board, color, recycling, item count | Type and board |
| 4 Print | Shows or hidden, color system, coating, artwork | CMYK or Pantone, finish |
| 5 Assembly | Steps, time, hand fit, storage | Seconds per unit |
| 6 Testing | Fit, shake, drop, open and repack, real pack | Pass or fail |
| 7 Shipping | Packed size, outer box, conditions | Outside size, carrier |
| 8 Order | Quantity, files, timing, saved specs | Quantity, date |
Red Flags: Stop and Ask
If you see any of these, pause and ask for advice before you order. They usually mean a size, material or structure is wrong.
- The product moves when you shake the packed box.
- The lid or flap presses on the product when closed.
- The insert bends or buckles when it goes into the box.
- The packer needs more than a minute per box, or cannot do it without help.
- The product is heavy or fragile and the insert is thin paperboard.
- The product varies in size and one insert is meant to fit them all.
Ready to Order?
Send us your completed checklist, the product's size and weight, and the inside size of your box, and we will recommend a type and board. Request a free quote. Our quotes include shipping and we reply within 1 business day. You can also see the product page for our box inserts and box dividers.
Frequently Asked Questions
What should I check before ordering custom inserts?
Check the product's packed size, weight and fragility, the inside size and style of the box, the insert type and board, print and finish, how it will be assembled, and test it with a sample. The summary table above lists each group in order.
How long does it take to go through the checklist?
About 30 to 45 minutes for a first pass, plus the time to measure and weigh your products. It is quicker if you have the products, the box and a ruler in front of you, and quicker again the second time.
Do I need to test a sample before a full order?
Yes, if the product is fragile, heavy or ships to customers. A sample shows the fit, the hold and the packing speed, which measurements cannot. An unprinted structural sample costs less than a printed run.
How do I run a drop test on a packed box?
Pack the product as you will ship it and drop the box from about waist height onto a hard floor. Test a flat face, an edge and a corner, then open it and check the product. Formal procedures exist if you need a recognized standard.
Can one insert fit several products?
Only if the products are the same size. A divider grid can cover small differences, but a cut-out insert is made to one shape. If sizes vary, order a separate insert for each, or choose a divider layout.
What if I do not know my box's inside dimensions?
Measure an existing box from the inside, or ask your box supplier. Do not use the outside size, because the walls take space away. Our guide to measuring dimensions explains inside and outside size.
Where do I find a dieline for my insert?
Our free dieline templates cover boxes, dividers and other styles, in PDF, SVG and DXF at real size. For a custom insert shape, send us your product size and we will prepare the dieline with you before printing.
Written by the PacksDo Team
We make custom printed packaging, from boxes and mailers to bags, labels and inserts. Questions about this guide? Ask us.