In this article
- 1The Eight Decisions, in Order
- 2Decision 1: What Is the Box For?
- 3Decision 2: Choose the Style
- 4Decision 3: Measure the Inside Size
- 5Decision 4: Pick the Material
- 6Decision 5: Choose Printing and Finishes
- 7Decision 6: Set Up the Dieline and Artwork
- 8Decision 7: Prove It With a Sample or Proof
- 9Decision 8: Quantity, Timing and Ordering
- 10An Example: A Small Skincare Brand Orders Its First Box
- 11Common Mistakes
- 12A Checklist Before You Ask for a Quote
- 13Next Step
To make a custom box for your business, decide what the box has to do, choose a style, measure the inside size your product needs, pick the material and finish, set up your artwork on a dieline, check a sample or proof, and then place the order. The order of those decisions matters, because each one limits the next.
This guide is for a business that wants a printed, branded box made for it. It walks through the eight decisions in the order to make them, what we need from you at each point, and what to expect on minimums and timing. If you want to build a single box yourself, read how to make a box. If you need packaging beyond boxes, such as bags, sleeves and labels, read how to make custom packaging.
Key takeaways
- Decide the job first. A box for a shelf, a box that ships and a gift box are three different boxes, even for the same product.
- Give the inside size. The product, its clearance and any insert set the inside, and the board thickness decides the outside.
- Material follows the job. Paperboard suits the shelf, corrugated suits shipping and rigid board suits premium gifts.
- Check before you commit. A structural sample proves size and fit, and a print proof or printed sample proves how the artwork looks.
- Plan for the minimum. Most box styles start at 50 or 100 units, and rigid boxes have a low minimum and shipping boxes start at 50.
The Eight Decisions, in Order
People often start with the artwork and discover later that the box is the wrong size or style. Start with the job instead. This table shows the order, why it works and what we need from you.
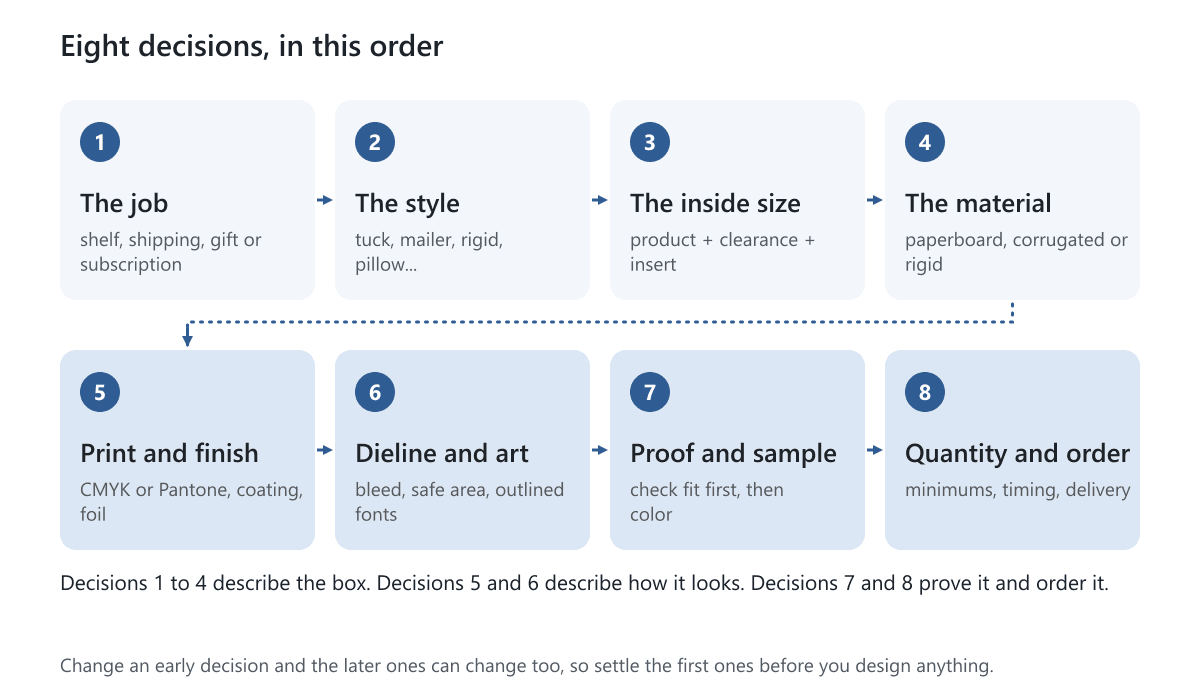
| Decision | Why it comes here | What we need from you |
|---|---|---|
| 1. The job | It decides the style and the strength | Where the box lives: shelf, shipping, gift, subscription |
| 2. The style | It decides how the box is measured and built | A style, or a description of the product |
| 3. The inside size | It must fit the product before anything is printed | Length x width x height, inside |
| 4. The material | Thickness changes the outside size and the cost | Paperboard, corrugated or rigid |
| 5. Print and finish | It depends on the board | CMYK or Pantone, coating, any foil or embossing |
| 6. Dieline and artwork | It needs the final size and style | Your files, or a brief if you want design help |
| 7. Proof and sample | It checks every earlier choice | Which sample you want |
| 8. Quantity and order | Quantity changes the price and the timing | Quantity and delivery address |
Decision 1: What Is the Box For?
Write one sentence about the job before you look at styles. Answer these questions:
- Who handles it? A customer in a store, a courier, a recipient opening a gift.
- Does it ship? If so, it needs strength and room for cushioning.
- Where is it stored? Boxes that ship flat take far less room until you assemble them.
- What does it have to say? Brand, ingredients, barcodes and legal text all need space on the panels.
- What is the budget per box? The answer changes the board, the finish and the style.
For the same product, a retail box can be a thin paperboard carton, a shipping box needs corrugated board, and a gift box can be a rigid box with a lid. Our guide to choosing the right box for your product goes deeper on matching a product to a box.
Decision 2: Choose the Style
The style is the shape and how it closes. Each style has its own strengths.
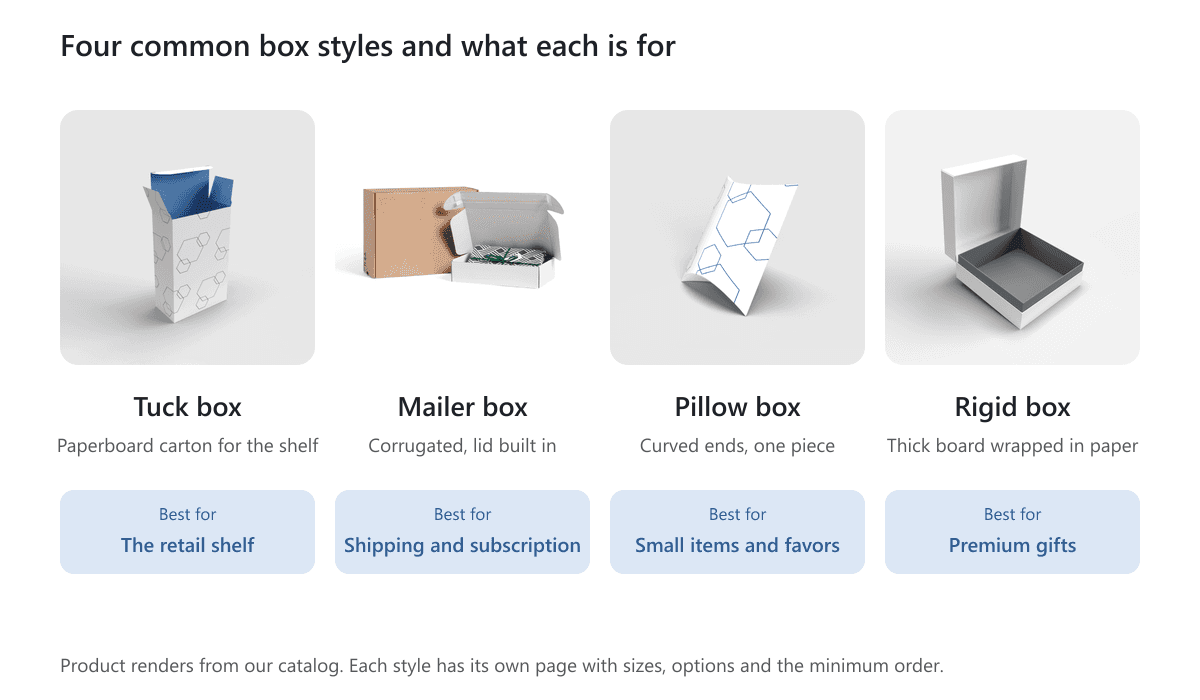
| Style | Material | Typical use | Where to look |
|---|---|---|---|
| Tuck box | Paperboard | Retail products on a shelf | Tuck boxes |
| Mailer box | Corrugated | Shipping, subscriptions, gifts | Mailer boxes |
| Shipping box | Corrugated | Sending heavier or larger items | Shipping boxes |
| Pillow box | Paperboard | Small, light items and favors | Pillow boxes |
| Rigid box | Rigid board wrapped in paper | Premium gifts and presentation | Rigid boxes |
| Tray and sleeve | Paperboard | A slide-open, drawer-style reveal | Tray and sleeve boxes |
| Two piece foldable | Paperboard | Lid and base boxes that ship flat | Two piece foldable boxes |
Within a style there are variations, for example straight tuck end or reverse tuck end, and mailers with or without dust flaps. If you are not sure, describe the product and the job and we will recommend one.
Decision 3: Measure the Inside Size
A custom box is built around its inside size, so this is the number to get right. The short version: measure the product at its longest, widest and tallest points, add clearance, add room for any insert or cushioning, and write the result as length x width x height. Our guide to measuring the dimensions of a box covers inside and outside dimensions, thickness and how to measure a box you already have.
A Worked Example
Take an example candle jar that is 2.5 inches across and 3 inches tall. With 1/8 inch of clearance on each side, the inside width and length become 2.75 inches. The height becomes 3.25 inches with 1/4 inch of room for the lid to close without pressing on the jar. The inside size is 2.75 x 2.75 x 3.25 inches. If the box is paperboard, the outside is only a fraction of a millimeter larger. If it is rigid board, the outside is several millimeters larger, which matters if the box has to fit a shelf or a shipping carton.
These clearances are starting points, not rules. Soft products compress, heavy ones need more support, and an insert takes volume. A sample confirms it.
Decision 4: Pick the Material
The material sets strength, weight, thickness, look and cost. These are the three we work with most.
| Material | What it is | Best for | Trade-off |
|---|---|---|---|
| Paperboard | White (SBS) or brown kraft board, 300 to 400gsm for folding cartons | Retail cartons, small gift boxes | Light and thin, but not for heavy shipping |
| Corrugated | Fluted board between flat layers | Mailers and shipping boxes | Strong, but thicker walls |
| Rigid board | Thick board, 800 to 2000gsm, wrapped in printed paper | Premium gifts and presentation | Heavier, and costs more per box |
Recycled stock options are available on request. Paper and cardboard are widely collected for recycling where facilities accept them, and plain board with fewer coatings is generally easier to recycle, though rules differ by town. Our guide on whether cardboard gets recycled explains the details.
Decision 5: Choose Printing and Finishes
Printing is CMYK or Pantone. CMYK builds colors from four inks and suits photos and complex artwork. Pantone is a mixed ink matched to a named color, which suits a precise brand color. Our color systems guide explains the difference.
Finishes change the feel and the protection:
- Varnish or lamination, in matte, glossy, satin or soft touch. See varnish vs lamination.
- Foil stamping, a metallic accent on a logo or edge.
- Embossing or debossing, a raised or pressed pattern.
- Spot UV, glossy coating on selected parts of the design.
- Window patching, a clear window so the product shows.
Each finish adds cost and can add time, and some stop the box recycling as easily as plain board. Pick the ones that serve the brand. A single finish applied well usually looks better than five applied at random.
Decision 6: Set Up the Dieline and Artwork
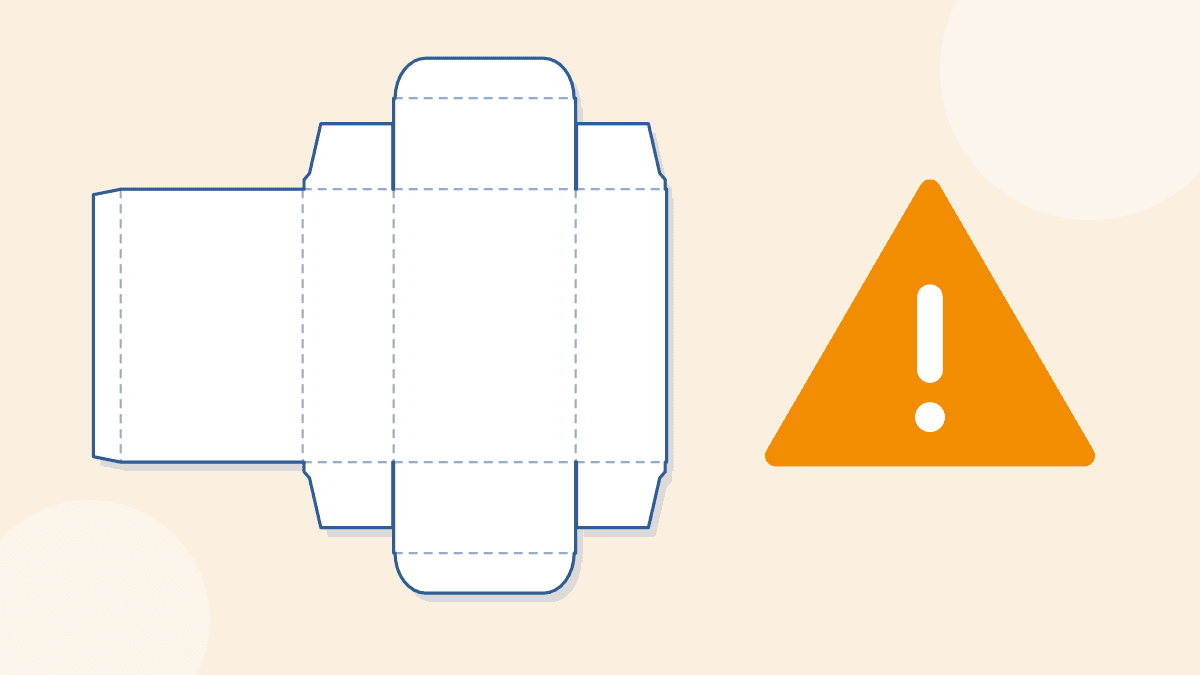
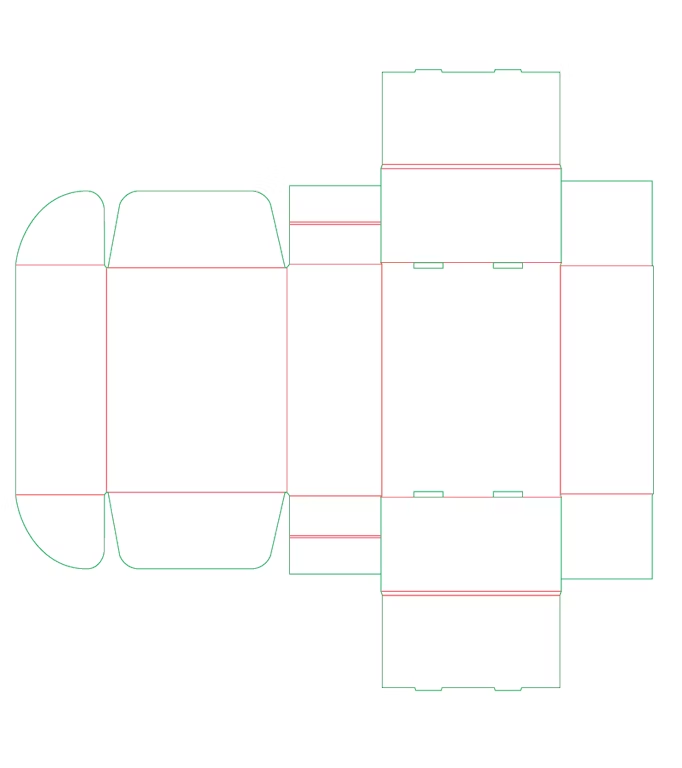
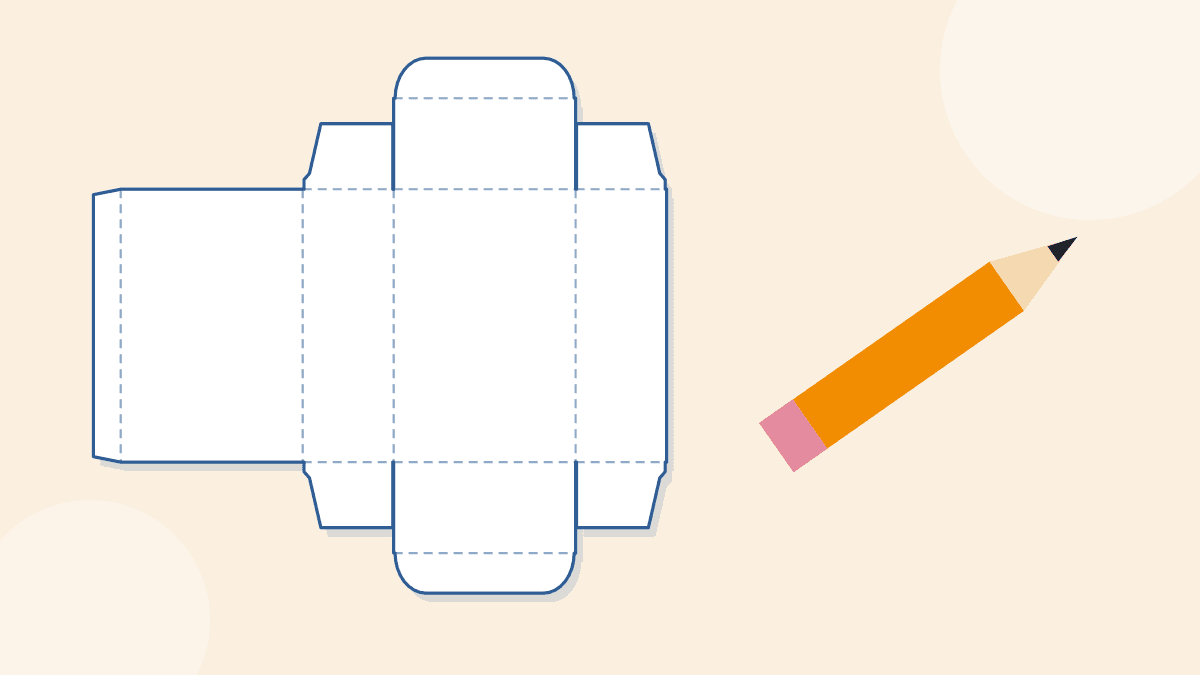
A dieline is the flat pattern of the box, with cut lines and fold lines. Your artwork sits on it. Our free dieline templates give you the flat pattern for many styles in PDF, SVG and DXF, at the size you type. They do not compensate for board thickness, so use them to plan and lay out artwork, and we confirm the final dieline with you before printing.
Extend backgrounds past the cut line (the bleed), and keep logos and text away from the edges and folds. Our guides to bleed and to preparing dielines for prepress cover both. We offer free design support if you want help turning a brief into artwork.
Decision 7: Prove It With a Sample or Proof
Do not skip this step. A sample is cheap compared with a full run that does not fit. Samples fall into three groups:
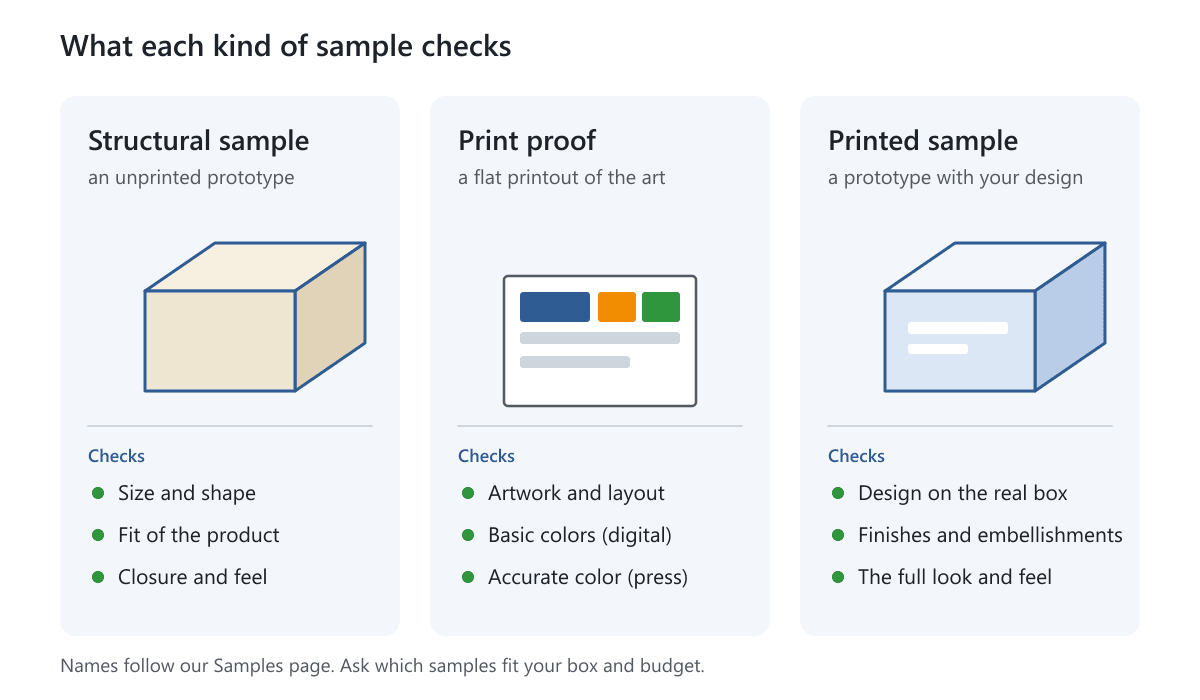
- A structural sample is an unprinted prototype. It shows size, shape and fit.
- A print proof is a flat printout of your artwork. A digital print proof checks artwork and basic colors, and a press proof is a closer color check made with the production printing method.
- A printed sample is a prototype printed with your design. A simplified sample has no special finishes, and a pre-production sample shows the colors and finishes as they will look.
Our samples page lists every sample type. The $50 Standard Sample Kit, shipping included, lets you handle real materials and construction before you decide. It may not include rigid boxes or boxes that ship assembled, so ask if you want a rigid sample. Sample costs can be credited toward a qualifying order, and the samples page shows the details.
Decision 8: Quantity, Timing and Ordering
Minimums depend on the product and each product page states its own. Shipping boxes and rigid boxes have a low minimum. Most other boxes start at 50 or 100 units. Paper bags, poly mailers, stickers, cards and hang tags start at 500 units.
Production takes 5 to 7 working days after your artwork is approved and payment is received. Larger or more complex orders can take longer, and we confirm the date in your quote. Delivery time is added on top. Quotes include shipping to the United States and Canada, and taxes and duties are not included. You can read more in our turn around time guide.
Price falls as quantity rises, because setup costs are spread over more boxes. The starting price on each product page shows the lowest typical price per unit. Our guide to packaging costs explains what moves the price.
An Example: A Small Skincare Brand Orders Its First Box
This is an invented example to show the order of decisions. It is not a real customer.
- Job: a 50 ml cream jar that sits on a shelf and is also packed into a shipping carton.
- Style: a straight tuck end box, because the jar goes in from the top and the box is for the shelf.
- Size: the jar is 2.3 inches across and 2.1 inches tall, so the inside is about 2.55 x 2.55 x 2.4 inches with clearance.
- Material: white paperboard, because the box is light and does not carry weight.
- Print and finish: CMYK with a soft touch lamination, and foil on the logo.
- Artwork: built on a downloaded tuck end dieline, with 3 mm of bleed.
- Proof: a structural sample first, to test the fit, and a print proof for the colors.
- Order: a first run of 100 units, which is above the starting minimum for this style.
Notice what did not happen. They did not design the artwork before they knew the size, and they tested the fit before the full run.
Common Mistakes
- Designing the artwork before the size and style are fixed.
- Giving the outside size when the box is built from the inside.
- Choosing paperboard for a box that has to survive shipping.
- Adding several finishes at once, which raises cost without improving the look.
- Skipping the sample and discovering a fit problem on the full run.
- Forgetting bleed and safe margins, so text sits too close to a fold or an edge.
- Ordering the minimum without checking storage, which can be a lot of boxes.
- Leaving the legal and product text until the end, when the panels are already full.
A Checklist Before You Ask for a Quote
- The product, its inside size, its weight and how it will sit in the box.
- The job: shelf, shipping, gift or subscription.
- A style you like, or a clear description so we can recommend one.
- The quantity you want, and whether you could start smaller.
- Any finishes you want, such as matte, soft touch or foil.
- Your artwork if you have it, or a short brief if you want design help.
- The delivery address and the date you need the boxes.
Next Step
If you know your product and the job, you are ready. Tell us the size, the quantity and the box you have in mind, and we reply within 1 business day: get a free quote. If you want to see construction first, order the Standard Sample Kit or download a free dieline template and check the pattern against your product.
Frequently Asked Questions
How much does a custom box cost?
It depends on the style, size, material, finish and quantity. Each product page shows a starting price per unit, and the price falls as quantity rises. Your quote gives the exact figure, and quotes include shipping to the United States and Canada. See our packaging cost guide.
What is the minimum order for a custom box?
It depends on the product. Shipping boxes and rigid boxes have a low minimum, most other boxes start at 100 units, and paper bags, poly mailers, stickers, cards and hang tags start at 500 units. Each product page states its own minimum.
How long does it take to make a custom box?
Production takes 5 to 7 working days after your artwork is approved and payment is received. Larger or more complex orders can take longer, and we confirm the date in your quote. Delivery time is added on top. The time you take to choose a style, finish the artwork and approve a sample is on top of that.
Do I need a dieline to order a custom box?
No. If you do not have one, we can prepare it for you from your size and style, and we confirm the final dieline with you before printing. If you want to lay out artwork yourself, download a free dieline template for your style.
Can I get a sample before I order?
Yes. A structural sample is an unprinted prototype that shows size and fit, and print proofs and printed samples show the artwork. The Standard Sample Kit costs $50, shipping included. See the samples page for every option.
Can you help with the design?
Yes, we offer free design support. Tell us what you sell, the box style and your brand colors, and send your logo. For the file rules, see our guide to preparing dielines for prepress.
Should I give inside or outside dimensions?
Give the inside dimensions, the space your product has to fit, and say that they are inside dimensions. The outside size is the inside size plus the wall thickness. See our measuring guide.
Written by the PacksDo Team
We make custom printed packaging, from boxes and mailers to bags, labels and inserts. Questions about this guide? Ask us.